
SSO
The SSO tab is where you connect an identity provider so members sign in through it instead of with a platform password. The tab is plan-gated: on plans that do not include SSO it shows a lock icon and is unselectable.
Read this if you administer authentication for your organization. You need the Administrator role.
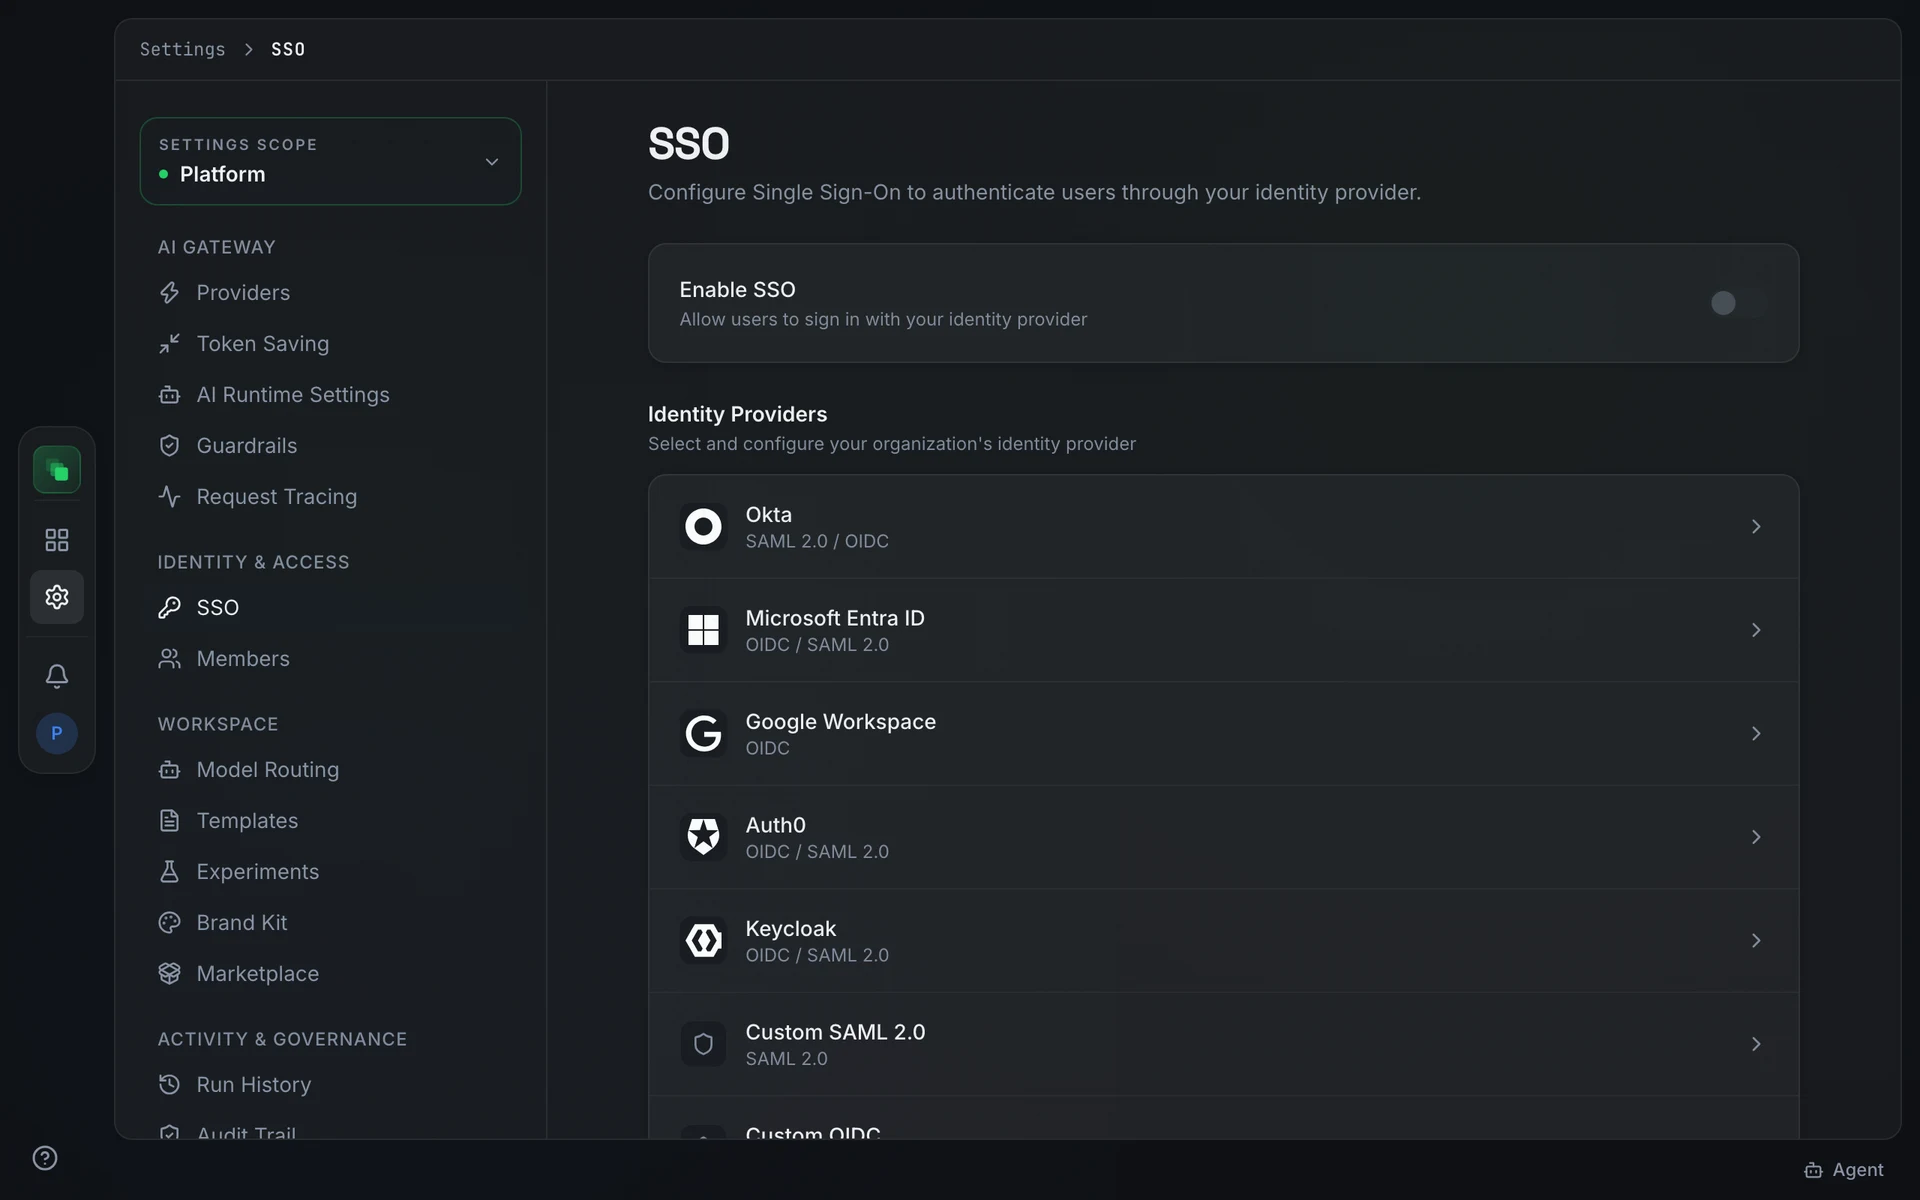
Enable SSO
Open Settings → SSO ("Configure Single Sign-On to authenticate users through your identity provider."). The Enable SSO toggle is disabled until at least one identity provider is configured. Once a provider is connected, toggle Enable SSO to activate it. The toggle reads "Allow users to sign in with your identity provider" and shows the tooltip "Configure a provider first" while no provider is saved.
Only one identity provider is active at a time. A Configured provider card appears at the top of the page once a provider is connected. Press Disconnect on that card to remove the connector; the Enable SSO toggle returns to disabled.
Identity providers
The Identity Providers section ("Select and configure your organization's identity provider") supports seven providers. Select one, fill in its required fields, and press Connect.
Social login
The Social Login section ("Allow users to sign in with social accounts") lists the social connectors available on your deployment. Each connector requires Client ID and Client Secret. Scope (optional) defaults to openid profile email. A green Connected badge appears on connectors that are saved. Press Delete to remove a configured connector.
Service provider details
The Service Provider Details card at the bottom of the page lists the values your identity provider needs when registering the platform as a service provider. Each field has a copy button.
Next steps
- Members: invite platform members and manage their roles.
- Settings overview: platform roles and the seeded permission groups.