
Connect an integration
Each integration connects one provider account to one project. Open Project Settings → Integrations, select a provider from the catalog, and use one of two paths: OAuth for providers that support it, or token credentials for the rest.
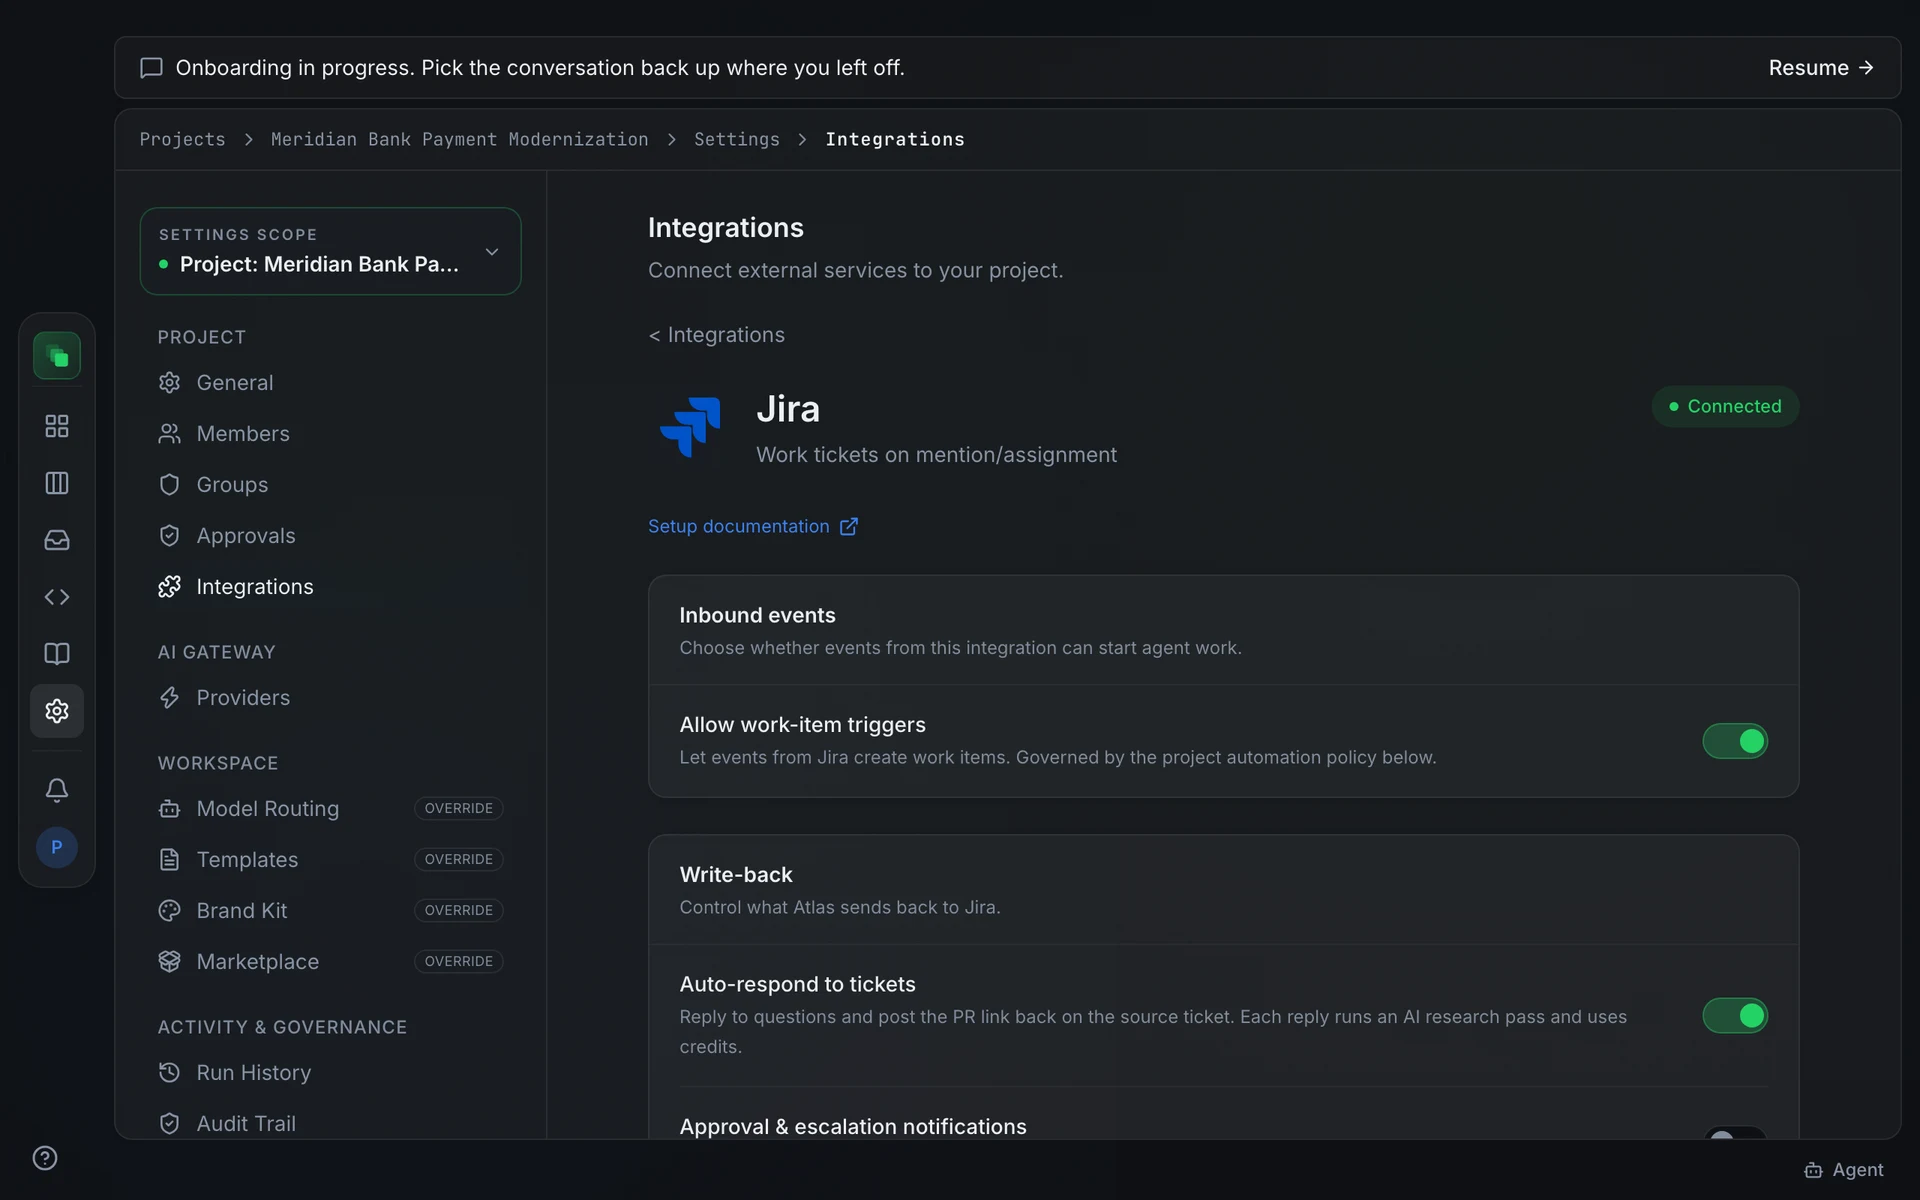
OAuth connection
When OAuth is configured for a provider on your installation, the detail page shows Connect alongside Connect with token. Press Connect to open a popup directed at the provider's authorization screen.
The backend generates a PKCE code verifier, stores it for the duration of the flow, and embeds the expected state in the authorization URL. After you authorize in the popup, the callback message is validated against both the expected source window and the expected state. The authorization code is then exchanged via POST /integrations/oauth/{provider}/exchange, with the code_verifier and state sent to complete verification.
If your browser blocks the popup, an error appears: allow popups for this site and try again.
Atlassian site selection
Jira and Confluence each require a specific Atlassian cloud site. After the OAuth exchange succeeds, the response includes available_sites listing every site your account can access. When more than one site is available, a Choose your Atlassian site card appears. Select the site from the dropdown, then press Save site. For Jira, you can also supply an optional Project key to scope the connection to one project.
Token connection
Press Connect with token to open the credential dialog. Enter every required credential field, then press Test connection. The backend calls POST /integrations/test and returns a pass or fail message inline. The Save button is not available until the test passes.
After a passing test, the dialog may load additional configuration fields (a Slack channel, a GitHub repository, a Notion database, and so on) by calling POST /integrations/options. Select the values you want, then press Save.
Webhook URL and secret
When a connection is saved, Flezise generates a webhook URL of the form /hooks/{provider}/{connection-id}. The URL is shown in the connection panel so you can register it on the provider's side.
For providers that verify signatures with HMAC-SHA256 (GitHub, GitLab, Confluence, and several others), a signing secret is generated at connection creation and shown once. Copy it into your provider's webhook signing configuration before closing the panel. The secret cannot be retrieved afterward; disconnect and reconnect to get a new one.
Jira uses the webhook URL as the secret. The URL is unguessable per connection, so registering it is sufficient without a separate signing secret. Jira webhook URLs are hidden from project members who have read-only access to integrations.
FAQ
The Connect button is missing. Why?
OAuth availability is per-deployment. If your administrator has not configured OAuth credentials for a provider, only Connect with token appears. Contact your administrator or see the provider's setup page for token instructions.
Where do I find the webhook secret after I close the panel?
The secret is shown only once, immediately after the connection is saved. If you did not copy it, disconnect and reconnect the integration to generate a new one.
Next steps
- Capabilities: what each capability chip means for the connection you just made
- Automation: when inbound events from this connection become work items